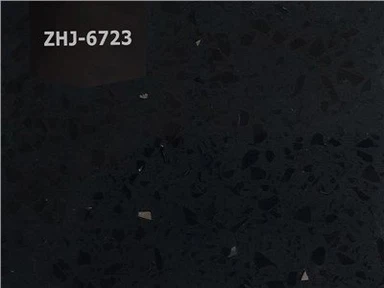


A Systematic Approach To Quartz Slab Inspection: Identifying Defects, Ensuring Compliance, And Maintaining Aesthetic Integrity
Jun 01, 2026
1. Introduction
The global quartz surfacing market has expanded rapidly due to the material's high scratch resistance, stain resistance, and low maintenance requirements. However, the aesthetic and structural homogeneity that defines high-quality quartz is often compromised by improper manufacturing, handling, or storage. For fabricators, distributors, and end-users, a rigorous inspection process is critical to avoid costly rework, structural failure, or customer rejection. This paper argues that effective quartz slab inspection must be multi-sensory (visual, tactile, and auditory) and adhere to a standardized defect classification matrix.

2. Key Characteristics of Engineered Quartz
To inspect effectively, one must understand the material's nominal composition:
92–94% crushed quartz aggregate (by weight)
6–8% resin binders (polyester, epoxy, or acrylic)
Pigments for color consistency
Additives (e.g., UV stabilizers, antimicrobial agents)
Unlike granite or marble, quartz has no natural fissures or color variation unless intentionally designed. Therefore, any unintended discontinuity is a defect.
3. Classification of Quartz Slab Defects
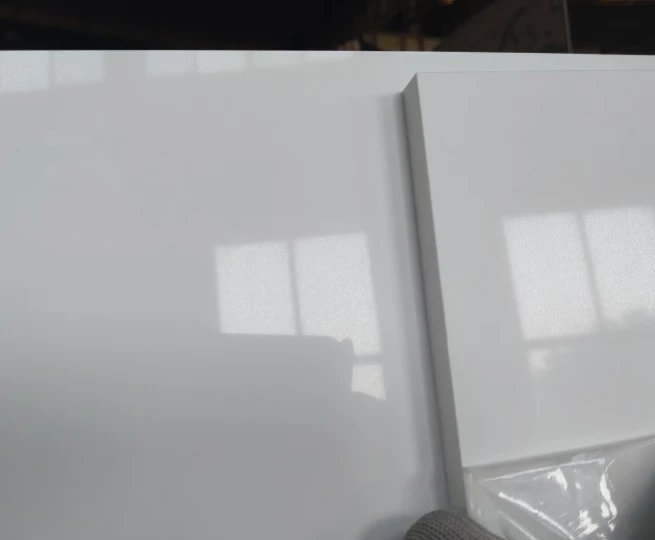
Inspection criteria are divided into three categories: Surface Defects, Structural Defects, and Dimensional Errors.
3.1 Surface Defects
Pinholes (Pits): Tiny cavities (0.5–2 mm) caused by trapped air bubbles that did not escape during vibro-compaction. Unacceptable in polished surfaces where food preparation occurs.
Cat's Paw / Crow's Feet: Clustered micro-cracks in the resin layer, often due to inconsistent curing or moisture contamination.
Orange Peel Texture: Uneven resin distribution leading to a wavy, non-glossy surface.
Resin Burn (Yellowing): Localized discoloration from excessive heat during curing or polishing.
Inclusion Contamination: Visible foreign materials (metal shavings, wood, paper, or different colored quartz aggregates).
3.2 Structural Defects
Delamination: Separation between quartz layers (visible as a translucent line or flaking edge). This is a critical failure point, often caused by insufficient vacuum pressure.
Cracks & Hairline Fractures (Crazing): Linear discontinuities, often pre-existing from demolding stress or improper handling.
Soft Spots: Areas where resin has not fully cured, identifiable by a dull thud sound when tapped (vs. a sharp ring in healthy quartz).
3.3 Dimensional Defects
Thickness Variation: Exceeding ±0.5 mm from nominal (e.g., 30 mm or 20 mm).
Warping (Bow): Deviation from flatness > 3 mm over 2 meters, leading to lippage during installation.
Camber (Edge Curvature): Non-straight edges on long slabs.
4. Inspection Tools and Environment
Accurate inspection requires:
Controlled lighting: 1000–1500 lux (e.g., LED panel arrays at 45° angle). Overhead fluorescent lighting masks subtle surface defects.
Straightedge (2m & 3m lengths): For warp and camber checks.
Digital calipers & thickness gauge.
Moisture meter (pinless type) – quartz should be <0.2% moisture.
Flashlight (high-CRI, 5000K): Raking light at 10–20° reveals pinholes and micro-cracks.
Hardness testing pick (Mohs scale approx. 7 for quartz).
White glove & cleaning spray: To distinguish between surface dirt and permanent inclusions.
5. Phased Inspection Protocol
A robust inspection process occurs in three stages:
Phase 1: Pre-Acceptance (At Distributor/Wholesaler)
Verify lot number, color code, and resin batch certificate.
Check for water stains or wrap damage from container shipping.
Perform a tap test (coin or metal rod) at 10 random points – a solid, ringing sound indicates good compaction; a dull sound suggests delamination.
Rejection criteria: Any visible crack, soft spot, or edge chip >5 mm.
Phase 2: In-Process (At Fabrication Shop – Pre-Cutting)
Back-lighting inspection: Place slab on a light table or shine a high-lumen light through the slab from the back. This reveals hidden cracks and delamination not visible under ambient light.
Raking light scan: Move a flashlight parallel to the slab surface. Pinholes and orange peel cast long shadows.
Wet vs. dry comparison: Lightly mist a section with water. Porous defects (pinholes, micro-cracks) absorb water and darken temporarily, while sound resin remains unchanged.
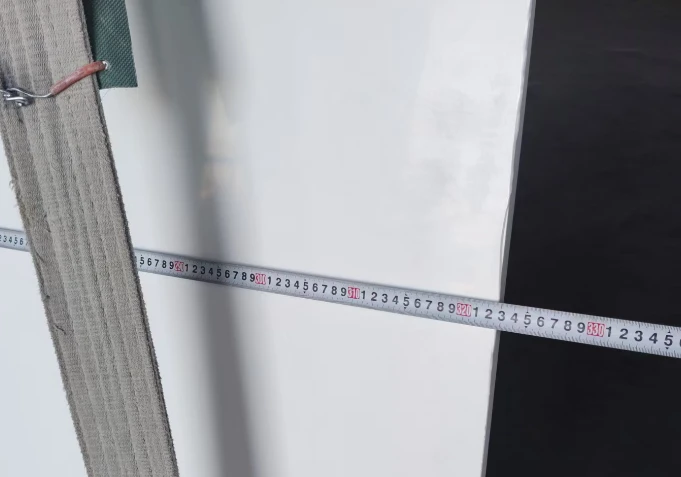
Dimensional verification: Measure thickness at four corners and mid-span.
Phase 3: Post-Polishing (Final QA before shipping to client)
Gloss uniformity test using a glossmeter (60° geometry). Variation >5 GU across the slab indicates uneven polishing.
Edge inspection: Run a gloved finger along all cut edges – any sharp burr or resin flake indicates a delamination risk.
Seal check: For polished surfaces, water beading should occur within 5 seconds; if water absorbs, the resin surface is compromised.